Piedmont Addition · Part 3 of 3

Alex Pell
Owner, Beyond Green Construction · 6 min read
The short answer
Trim joints separate because houses move. They shift with heat and cold, and new framing settles, sometimes as much as half an inch in the first six months. Preassembling the casing, so every joint is glued and clamped before it goes up, makes those joints far more resistant, but it adds labor, so I explain the difference and write the method into the contract.
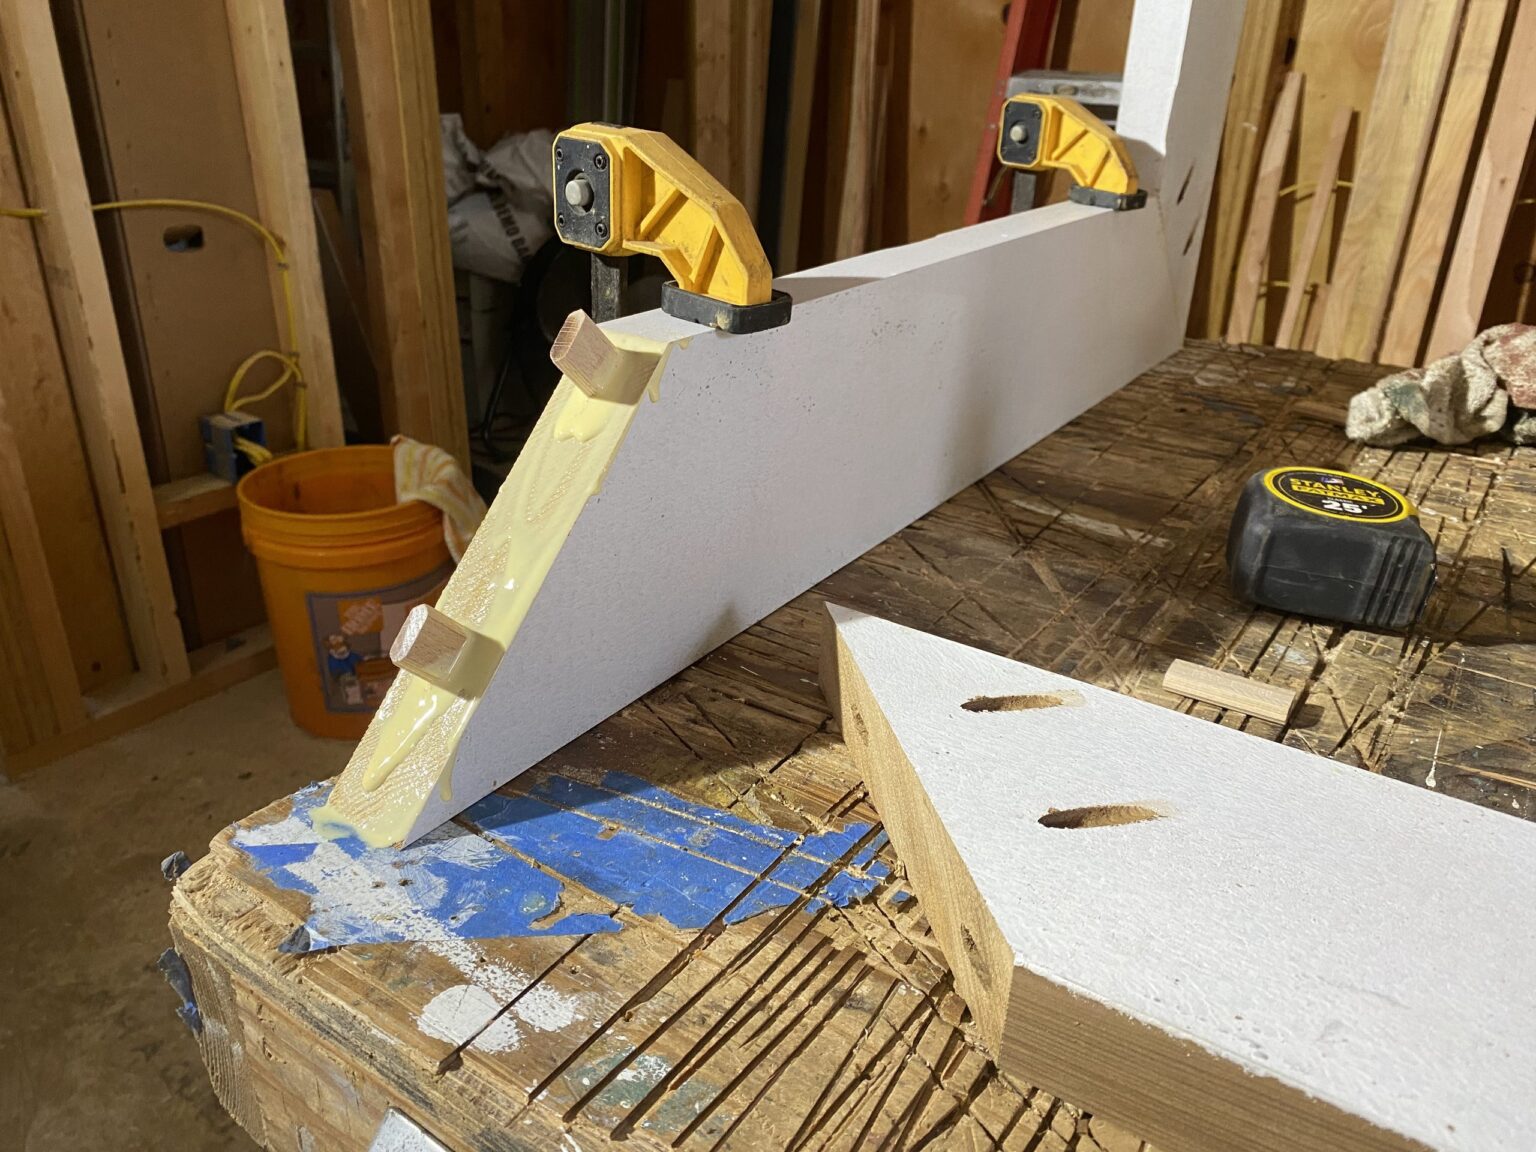
The client had already asked
About eleven years ago, before I started Beyond Green, I was a project manager for another company. On one job, the client asked a good question: would we preassemble the door casing? Casing is the trim that frames a door or window opening. Preassembling it means fitting and gluing the whole surround together before it’s nailed to the wall.
I already knew how to do it and preferred it. My boss didn’t want to spend the time, and the client was told piece by piece would be good enough.
So that’s what we did. Left side up, glue on the joint, fit the top piece, then glue and fit the other side. With accurate cuts, you can get a pretty good result that way.
Six months later, ten doors
Roughly six months later we got a callback. About ten doors had fine lines showing at the miters, the corners where the angled ends of the casing meet.
Nothing was falling apart. The problem was purely cosmetic, and it was exactly what the client had asked about.
Fixing it properly meant pulling the casing off and rebuilding it. The client didn’t want that disruption, so we scraped out the caulk at the joints and recaulked them. It covered the lines. I’d call it a mediocre repair: the same piece-by-piece assembly was still on the wall.
Why trim joints separate: your house moves
It’s easy to picture a house as a fixed object. It isn’t. The framing shifts with heat and cold, season after season. A new build also settles as it takes on its load; in my experience that can be half an inch in the first six months.
Trim sits right on top of all that movement, and the miters are where it shows. That’s the number one reason trim joints open.
It’s worth saying plainly: this is about looks. A line at a miter doesn’t mean anything is wrong with the house. But on finish work, looks are the job.
How preassembled casing resists it
Preassembly starts with careful measuring, because the finished surround has to fit the opening I actually have. I leave the pieces long, cut the miters and work toward the fit: check, adjust, cut again. Even on a new window, I don’t assume a perfect 90-degree corner. A miter might need to be 44.5 degrees instead of 45. The fit tells me what the cut needs to be.
Small windows are the least forgiving. A larger surround in 1×3 or 1×4 casing gives some room to adjust. A small one leaves very little margin if the size or the angles are off.
Once the fit is right, the joints get glued and clamped. Wood joinery is all about clamping pressure. Depending on the assembly, that pressure comes from Clam Clamps, cam-lever miter clamps made for casing, from Collins Spring Clamps, or from a mortise and tenon cut with a Festool Domino. The tool changes. The principle doesn’t: the joint cures under pressure.
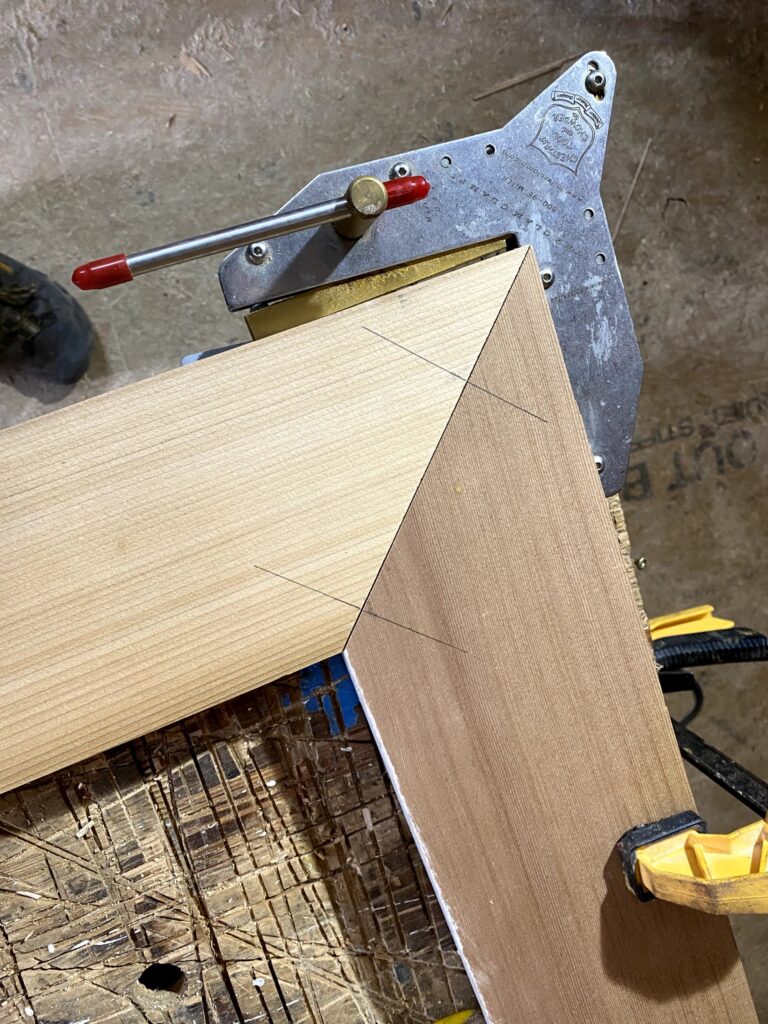
Piece by piece, there’s no good way to do that. Once the first leg is nailed to the wall, the miter gets glue and a few nails, and nothing pulls it tight. Preassembled, the surround cures as one frame and goes up as one piece. Installation is quick: set it, nail it off.
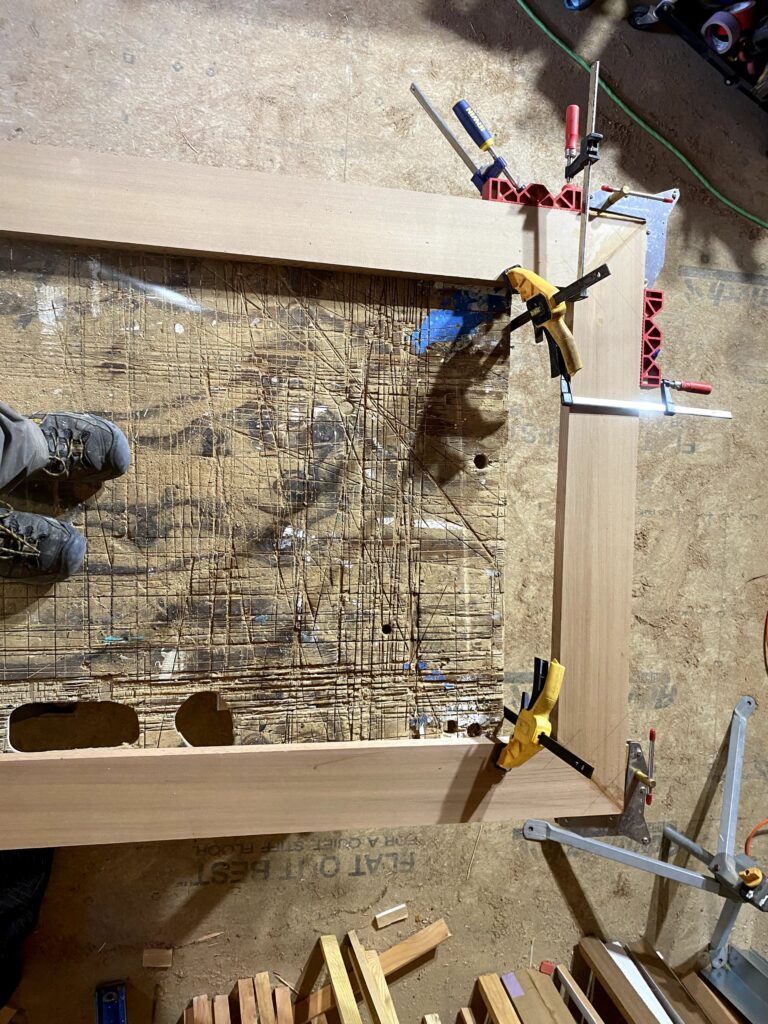
Does that stop every line? No. A house that moves enough will still find the joints. But a preassembled surround is far more resistant than one built on the wall a piece at a time.
A choice the client makes, with the facts
All that fitting and clamping is labor, and it adds real cost to a trim job. For the finish I want to leave behind, preassembly is my standard. I want what I build to serve the house for 50 years.
But it isn’t structural, and some clients would rather accept the chance of a hairline at the miters and keep the savings. That’s a fair trade, and I take those jobs. The difference is that we write it down. The contract spells out how the casing will be assembled, and that piece-by-piece trim is less stable.
It isn’t really a legal question. It’s about trust. If a line shows up at a corner years later, the client already knew it could, and why.
That’s the lesson from the job eleven years ago. The client asked the right question and got “good enough” instead of an answer.
What I’d tell anyone planning new door or window trim
- Ask how the casing will be assembled. Profile and material are only part of what you’re paying for.
- Say what will bother you. If hairlines at the corners will catch your eye every time you walk through a door, say so before the work is priced.
- Get the method in writing. Whichever way you go, the contract should say how the trim will be built.
- Know what a repair looks like. Once the casing is up, the realistic fix is caulk or filler. Doing it over means taking the trim off.
The verdict
Houses move, and trim shows it first. Preassembled casing holds its corners far better, because every joint cures under clamping pressure, and it costs more to build. Either choice can be the right one, as long as it’s made before the trim goes up, by a client who knows the difference.
Trim is one of the details we settle early when we plan a home renovation.
FAQ
Why are there gaps at the corners of my door trim?
In our experience, the main cause is the house moving. Framing shifts with heat and cold, new construction settles, and the miter joints are where trim shows it. It’s cosmetic, not a sign of a structural problem.
What does it mean to preassemble door or window casing?
It means fitting the whole surround, then gluing and clamping its joints before it’s installed, instead of nailing up one piece at a time and gluing the joints in place. The joints cure under pressure, and the finished surround goes on the wall as one piece.
Will preassembled casing ever show a line at the joints?
It can. A house that moves enough can open any joint, but in our experience a preassembled surround is far more resistant than casing assembled on the wall.
How do you fix separating trim?
Usually with caulk or filler, and that’s what most clients choose. It hides the lines, but it doesn’t change how the casing was built. A real fix means removing and rebuilding it.
More from this job
Piedmont Addition
- We ordered the window to fit the tile
- The plumbing lesson I learned the hard way
- Why trim joints open up, and why I preassemble casing (you’re reading it)
About the author
Alex Pell
I grew up in the Colorado mountains, the kid rebuilding CD players and racing a dog sled I’d built myself. (My great-grandfather held more than 100 patents; it runs in the family.) I was on my first jobsite at 17, building straw bale homes, then apprenticed as a carpenter, electrician and plumber, and started Beyond Green in 2017. Here I write about what’s behind the finished photos: the calls forced by budget, code and the site, and the ones that come from 25 years of seeing what holds up and what doesn’t.
The project
Piedmont Addition
475 sq ft addition: primary suite and full bath
Facing a decision like this on your own project?
Talk it through with Alex on a free 15-minute call.
Book a 15-minute call (510) 239-7589